


Description
Description For Turnip Seeds
How To Grow Turnip From Seeds:
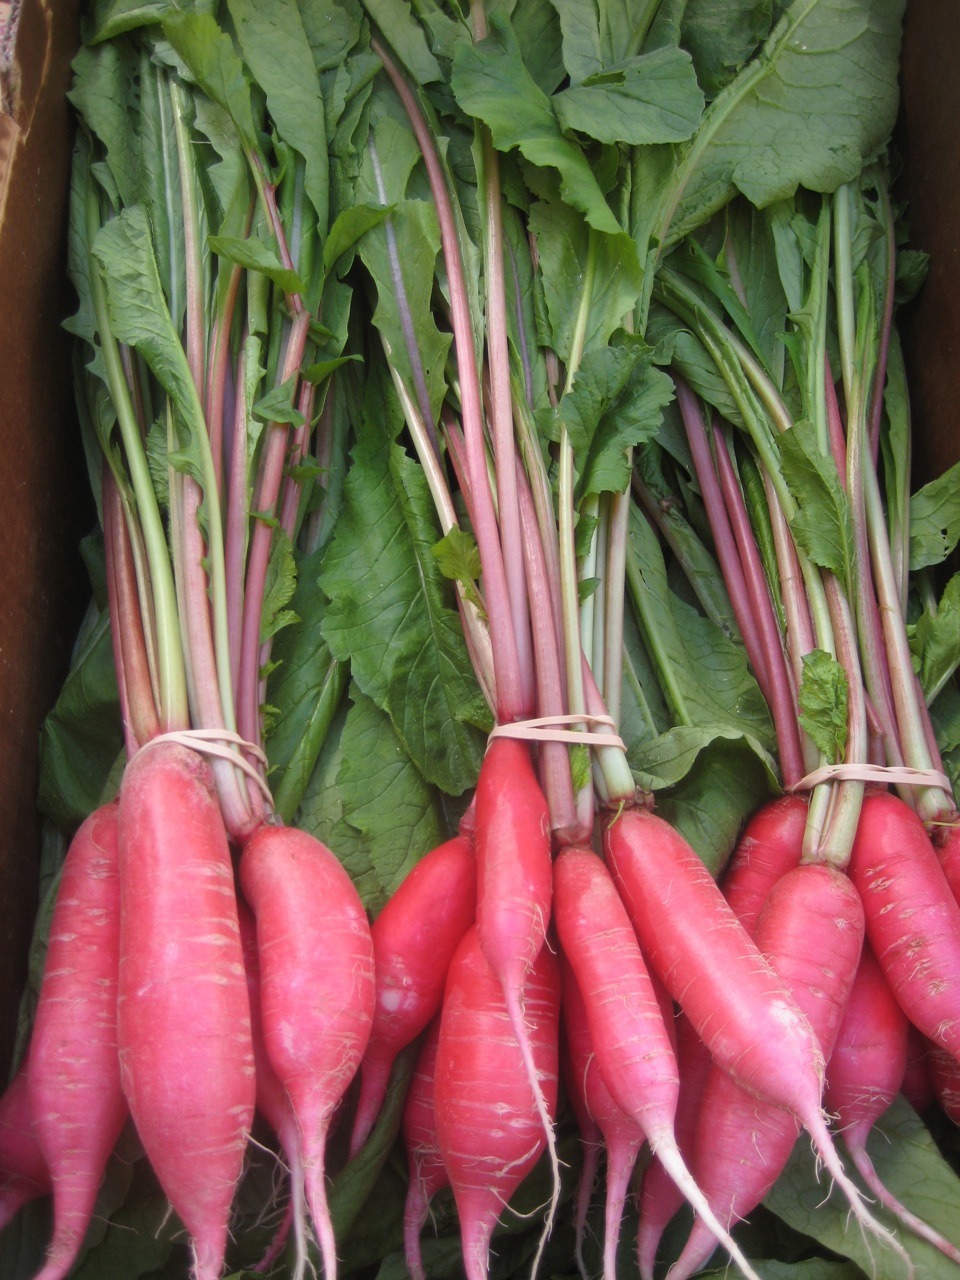
Introduction and Uses: Turnip, also known as Shalgam comes with a wholesome of incredible benefits. It belongs to the Brassicaceae family. This root vegetable is highly nutritious and extremely low in calories. Turnips are known to prevent cancer, improve cardiovascular health, improve bone health, aid digestion, and prevent Atherosclerosis.
Botanical Name: Brassica rapa subsp. rapa
Sowing Season: Winter
Sowing method: Transplantation.
Sowing container: Seedling trays/ seed cups/ small polybags/ Seed bed.
Sowing medium: Coco Peat (indoors), Fine soil (outdoors)
STEPS FOR SEED SOWING (SEED STARTING) IN A CONTAINER:
Sowing Technique:
Covering: Keep the seed tray in a box or cover it with paper for first 4-5 days to encourage faster seed germination.
Watering:
GROWTH STAGES OF TURNIP PLANT:
Sprouting Stage: Seeds will germinate within first 6-8 days & tiny sprouts will be visible. Once seeds germinate, put the tray on an open partially sunny spot near the window. Don’t cover the tray anymore.
Cotyledons: The first two leaves will emerge in the second week of germination. These are false leaves called as cotyledons.
First leaves: First leaves will emerge above cotyledons at the end of the second week.
Seedling stage: Second week onwards, seedlings will start growing into a small plant. At this stage exposé the seedlings to more & more sunlight for leaf growth.
Thinning: After the second week, keep only single seedling per cell/cup. Cut off the weak, small & lagging seedlings with a pair of scissors.
Transplantation: 25 to 30 days after the seed sowing, your seedlings will be ready to transplant in container pots or raised beds.
Container:
Spacing: Plant the seedlings minimum 2 feet apart (60×60 cm), from each other on raised beds or in a container.
HOW TO TAKE CARE FOR TURNIP PLANT:
Sunlight: Turnip grows well under full sunlight in winter. So place your containers accordingly.
Watering: Water your potted Turnip plant every alternate day in winter. Water at the soil near the plant. Use a watering can and make sure that the plants get water in the form of the shower & not by a single flow. You can also make provision for watering by drip irrigation system for your raised beds. Avoid overwatering.
Manuring: Add good quality organic manure in the soil with 2:1 ratio before transplanting the seedling. Organic fertilizer can be well rotten cow dung manure, farmyard manure, compost or Vermicompost.
Top Dressing: Apply balanced liquid fertiliser or handful of vermicompost to each plant, every 15 days after transplantation.
Plant care: Always look for the early signs of any insect/fungal/ any other infections. Spray appropriate medicines as soon as any symptoms of such diseases are spotted. Watch out for snails & slugs
Microgreens: If you plan to grow micro greens Turnip, grow it indoors in flat containers. Sow-scatter the seeds in a crowded manner. You can harvest it in 10-15 days by uprooting baby plants.
Harvesting: (90-100 days from seed sowing) 60 to 65 days after transplantation, bulbous roots (Turnips) will be ready to harvest. You can get single Turnip per plant. Uproot the Turnip from soil along with stem & leaves.